
Thule Hideaway Awning Review
An awning is, in theory, a wonderful addition to your van or rig. When living in a vehicle that’s smaller than a two-man prison cell, unfurling an awning essentially doubles your living space. We’ve been reviewing the Thule Hideaway Awning for the past year, and while we’re stoked every time we use it, we just don’t use it as much as we thought we would. In this honest review, we’ll dissect the Hideaway—we’ll talk about why we love to use it, why we don’t use it as often as we anticipated, the pitfalls of installation, and who this awning is best for.

Why We Love the Thule Hideaway Awning:
Awnings are awesome companions whenever the weather leans towards an extreme. Brutal sun in the desert? We crank the Thule’s easy-to-use handle, open that bad boy up, and bask in the shade while our less sophisticated neighbors shrivel like ants under a magnifying glass. A little bit of drizzle? We do the same, and the dry, protected area turns into a mud room of sorts—we untie our shoes in peace, hang wetsuits, take a piss, etc.
When the sun’s out and we’re hanging with other vanlifers who don’t have an awning, it can become a sweet, social hangout spot. We love kicking back underneath the awning and watching the waves or resting after a day of climbing. At that point, it can’t be beat.
Other Pros:
The Size—it’s huge. We have the 10-foot option and it’s downright gigantic. In fact, when it’s fully extended, it’s way bigger than the inside of the van.
The Construction—Thule’s no slouch in the engineering department. This awning is more expensive than some of the other awnings out there, but you get what you pay for. The swivel crank is smooth as butter, the awning fabric is thick and durable, and the arms are lightweight yet ultra stable.
The Aerodynamics—Some awnings sit really high or have to be attached to a roof rack. We drilled directly into the van, and the awning sits fairly flush. While we didn’t have a great time installing this awning (more on that later), we do love how minimally it effects the aerodynamics of the van at top speeds.

Why We Don’t Use It As Much As We Thought We Would:
When you’re actually living out of a van, you find that everything takes more time than you think it does. Waking up, making breakfast, transitioning from bed to table, doing the dishes, taking a shower, etc. All of these activities take a bit longer than you’re used to. And setting up this awning, while far from hard, takes a few minutes. You crank open the awning, extend the arms, drive them into the ground, and then, if the wind is up, you’ve got to tension the arms. All told, it takes five or ten minutes in total.
That doesn’t sound like a lot, but if you’re only parked for a few hours or even one night, it can feel excessive. The times we really love and use the awning are when we are parked for more than one night at a time. If we’re boondocking for a few days and hanging out by the beach, you’re damn right the awning is coming out. However, if we’re pulling up to camp at 6 PM and leaving the next morning, chances are we won’t bother.

Who the Thule Hideaway Awning is For:
Keeping these pros and cons in mind, the Thule Hideaway Awning is best for people who will be parked for long periods of time. If you’re planning to post up for a few days here and a few days there, we heartily recommend this awning. If you’re always going to be on the go, or will be driving your van to work everyday, this is an unnecessary purchase.
Now that we’ve talked a bit about the awning itself, let’s chat about installation.
Installing a Thule Hideaway:
Installing this beast was a nightmare for us, but that doesn’t mean it will be for you. There are three reasons it was so tough on us:
- We did a direct mount on a curved fiberglass topper. We had to line up exactly where we wanted the awning, carefully drill into the van, and then mount the awning using internal brackets. You don’t have to be a genius to realize that the roof rack mount is way easier.
- The directions, at least in 2018, were abysmal. Thule’s assured me that they fixed the directions. Thank god.
- I’m not very good at installing awnings, apparently.


Tips for Installation:
- If you’re mounting onto the roof rack, stop reading this article. You’re golden, pony boy. Just follow the directions and pat yourself on the back.
- If you’re mounting directly onto your vehicle, say a prayer, and then consider the following tips:
- Line up exactly where you want to put your brackets. Some van gutters, like ours, curve—so don’t measure off of the gutter. Use a straight edge or a chalk line to line it up.
- Install the awning BEFORE you put up your walls. Hell, install it before you even do your installation. Once you put the brackets in, the awning won’t be coming off, so what does it matter if the internal brackets are buried? Better that then having a few bolts sticking out of your gorgeous woodgrain walls, am I right?
- You’ve lined up your brackets. Everything’s all good. But before you use silicone and seal those puppies up like Salazar Slytherin did the Chamber of Secrets (sorry—trying to make this exciting for both of us), test your positioning to make sure that the awning fits. Chuck the bolts in, set up the brackets, and do a “dry” test. With two people, gentle place the awning onto the brackets. Check to make sure that the awning sits flush on the brackets. I did not do a dry test. Because I didn’t read this article, because it wasn’t written. And because I did not do a dry test, I spent a long ass time chiseling away at half-cured silicone with a razor blade. Don’t be dumb like me. Be smart like you.


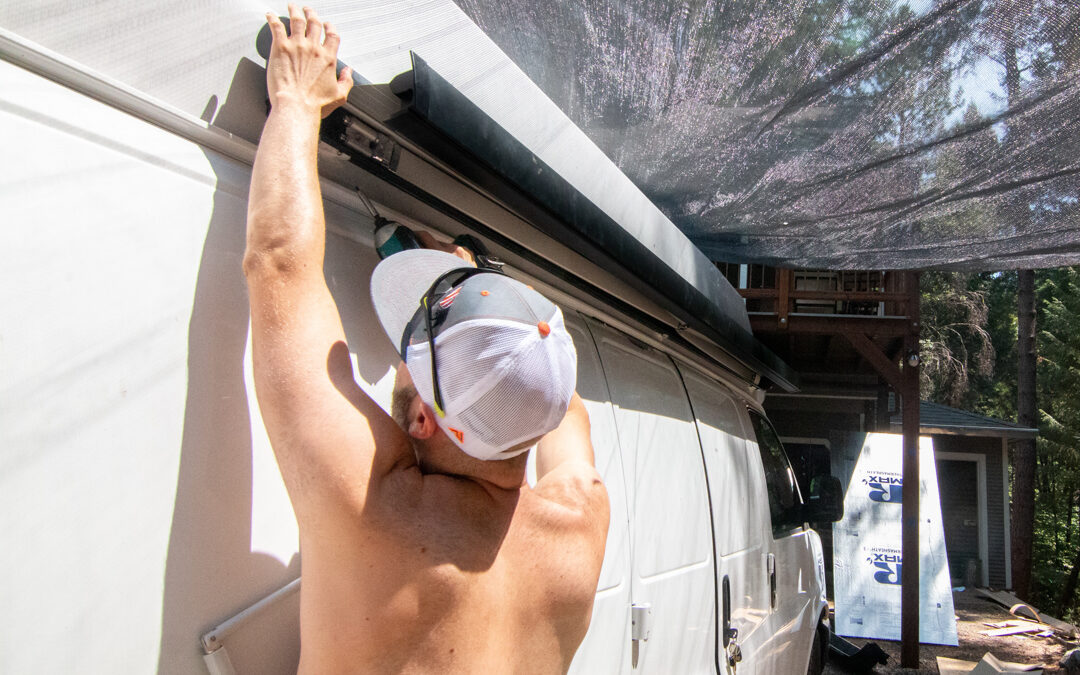
- When the awning is in place, make sure you open the awning before you drill through the bracket and into the metal casing. That way, you won’t put an accidental hole through the awning fabric.
- Speaking of accidental holes (which might be the name of our new band), if you have a fiberglass topper, a couple more things to consider.
- When you’re drilling into the fiberglass, make a small pilot hole first (less than an 1/8”), and then use the proper-sized drill bit as directed. You can use a TK bit, which will be more forgiving and won’t crack the fiberglass.
- If the fiberglass isn’t reinforced with wood, make sure to use a strip of plywood to help displace the pressure on the interior of the van. Cut a small strip (we did 6-12 inches), drill bolt holes through the ply, and treat it like a wooden washer—that way, the fiberglass won’t crack from the inside out.

All told, the Thule Hideaway Awning is super rad, and we’re stoked we have it on our van. It’s not the cheapest van life option, but again, you get what you pay for.
Also, while I’m being transparent and honest about our installation process, I believe that you won’t have any of the same problems I did—again, because you read this article. It should be a breeze, and you’ll be posted up enjoying the shade in no time.
Have more questions for us that we didn’t answer? Please feel free to leave a comment below.
Happy travels,
Groves & Coves